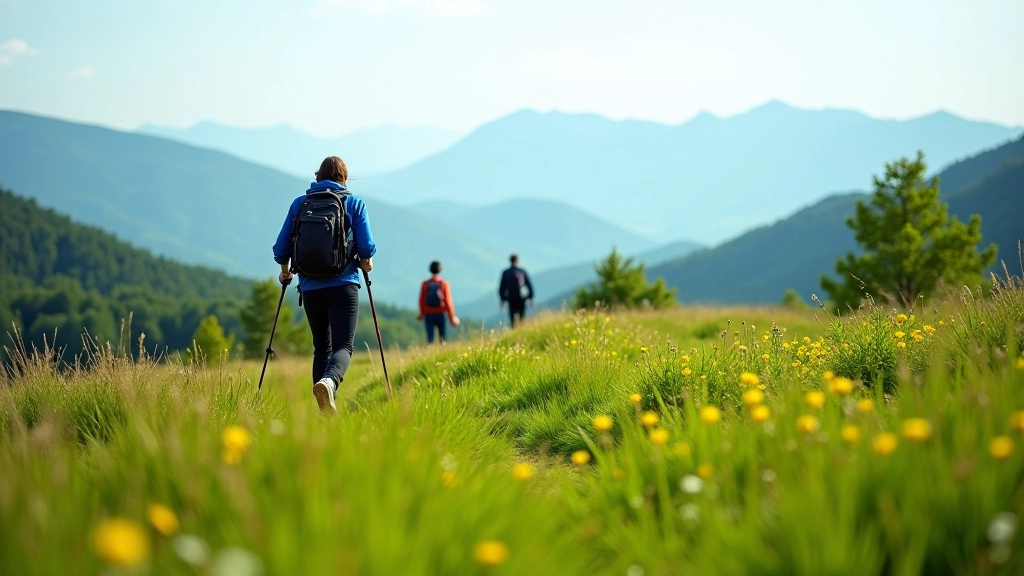
Beskydy Mountain Routes for Intermediate Walkers
Three challenging trails through the Beskydy range with elevation changes, stunning valleys, and forest paths. Perfect for walkers ready to progress beyond flat terrain.
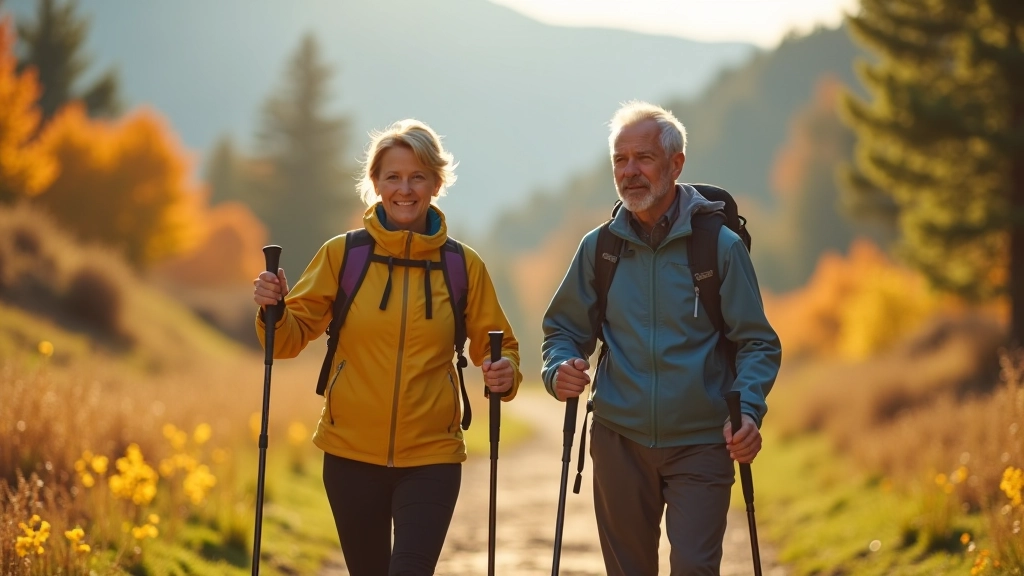
Learn correct posture, pole length selection, and walking rhythm. Most beginners fix their technique within 2-3 sessions once they understand the fundamentals.
Getting your technique right from the start isn’t just about looking good. It’s the difference between enjoying a walk and feeling exhausted. Poor form puts strain on your shoulders, lower back, and knees. The right technique distributes effort across your entire body, making walks longer, easier, and actually enjoyable.
Here’s what we’ve noticed: beginners who focus on fundamentals first end up loving the sport. They don’t get injured. They progress faster. And they’re more likely to keep going months later when the novelty wears off. That’s because they’re not fighting against their own body.

Your posture is the foundation. Stand tall, shoulders relaxed but not hunched. Your chest should be open, not collapsed forward. Most people naturally curve their shoulders inward — we do it at desks, in cars, everywhere. You’ll need to actively think about rolling your shoulders back for the first few weeks.
Your core matters too. Engage your abdominal muscles lightly — don’t suck in your stomach, just tighten slightly. This supports your lower back and makes the whole movement more efficient. Your hips should stay level as you walk. Don’t let one side dip lower than the other.
And here’s something people forget: your head position. Look ahead about 10 meters down the trail, not at your feet. Your neck should be neutral, not craned forward. Bad neck posture creates tension and limits your vision of the terrain.
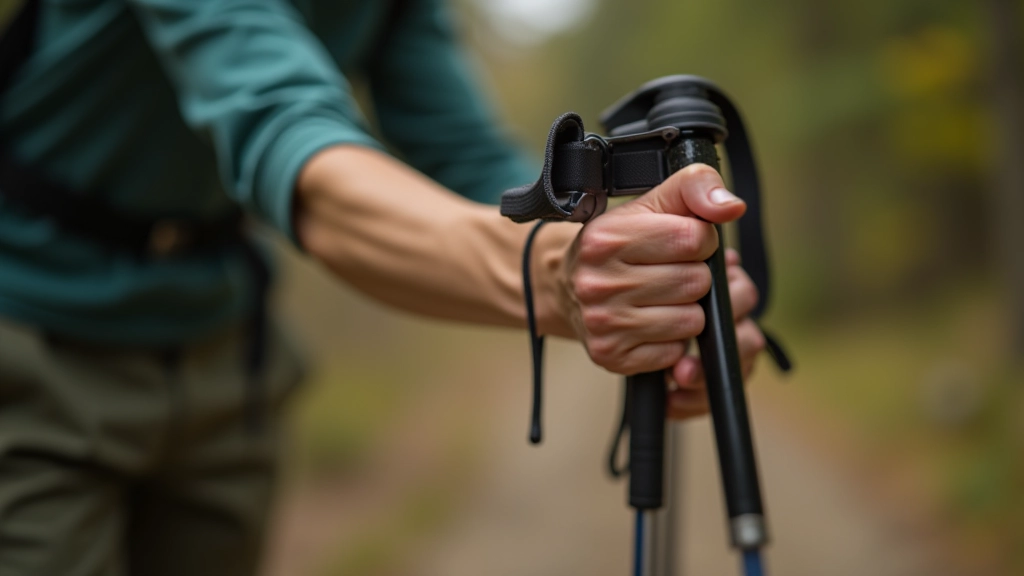
The right pole length is crucial. Most people get this wrong. You’ll see walkers with poles that’re way too long or too short. The rule? When you’re standing upright with your arms at 90 degrees, the pole should reach from the ground to your hand without you having to bend your wrist or raise your shoulder.
As a rough guide: multiply your height in centimeters by 0.66. A person who’s 170cm tall would want poles around 112cm. But this varies based on terrain. Flat paths? Use that formula. Steep mountains? You might go 5cm shorter. Don’t overthink it — the range of 110-130cm works for most adults.
Stand wearing shoes you’ll walk in
Hold pole at natural arm angle (elbows bent roughly 90)
Pole should touch ground with minimal wrist bend
Adjust if needed — too long feels awkward, too short wastes effort
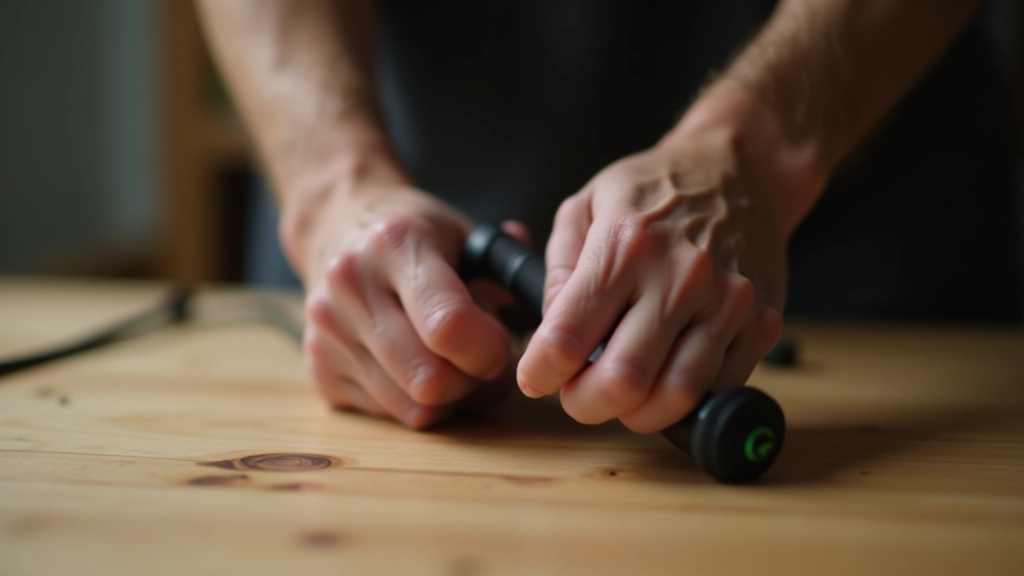
Your grip matters. Don’t squeeze the poles hard — that creates tension in your forearms and shoulders. Hold them with a relaxed grip. Nordic walking poles have straps that go over your wrist. That strap does most of the work, not your hand. Your hand should be relaxed, almost like you’re letting the pole rest in your palm.
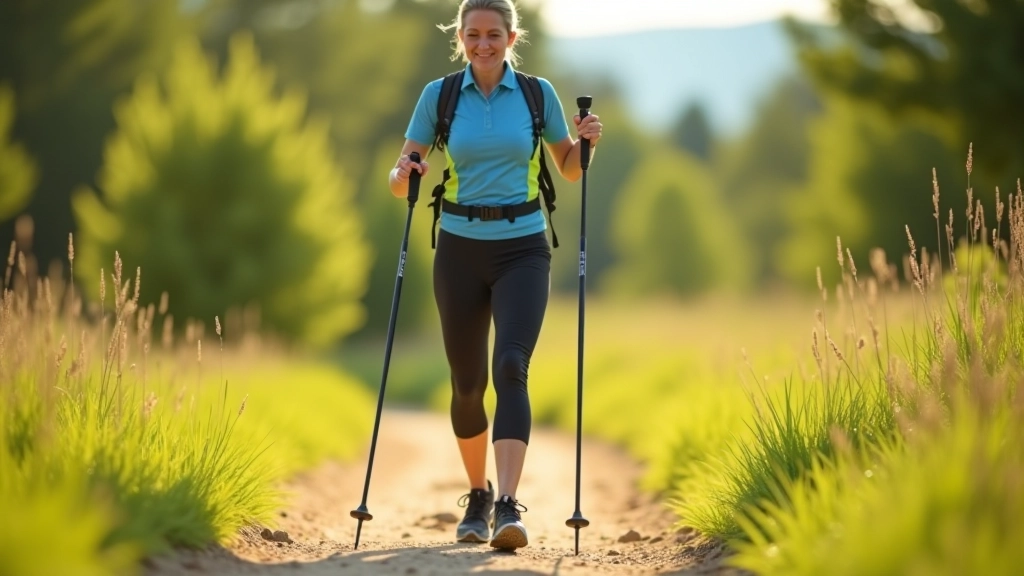
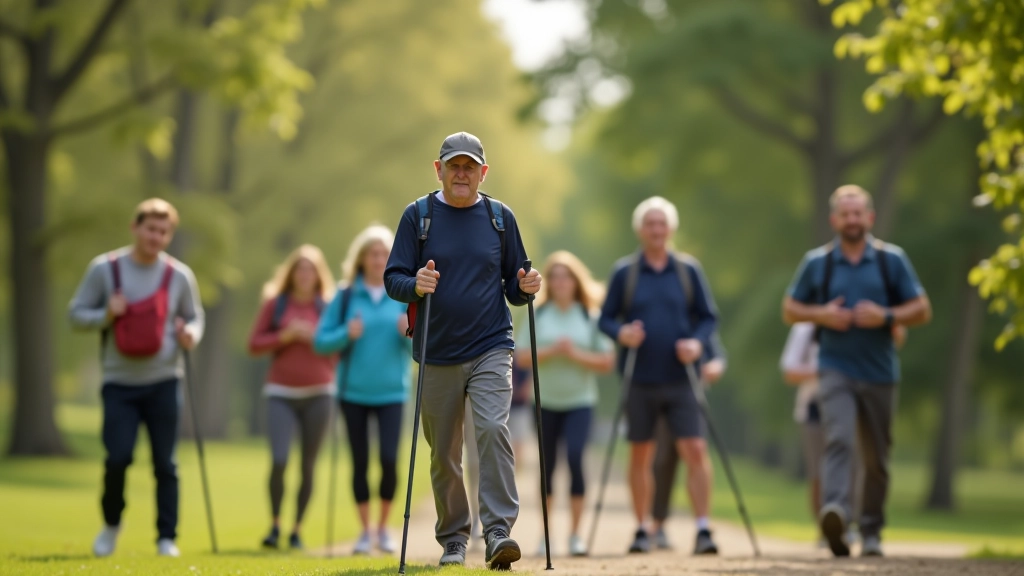
Here’s where it comes together. Nordic walking has a specific pattern. Your right pole touches down as your left foot steps forward. Then your left pole touches as your right foot steps forward. It’s like cross-country skiing on land. Opposite limbs move together.
Don’t overthink it. If you’ve ever walked normally, you already know how to move your opposite arm and leg together. You’re just adding poles. Push the poles backward as you walk, not forward. The pole propels you, giving extra power from your upper body. Your arm swings backward naturally — let the pole follow that motion.
Your walking speed should be brisk but conversational. You should be breathing harder than a normal walk but still able to talk in short sentences. Not gasping, not leisurely. This is moderate intensity. Most people find their natural pace within 5-6 km/h once they’re comfortable.
One thing: your stride length stays normal. Don’t try to take giant steps or shuffle along. Just walk naturally. The poles add the intensity, not weird movements. We’ve seen people try to do exaggerated strides and it just creates bad habits. Keep it normal.
Focus: Posture and feeling. Walk a flat, easy route for 15-20 minutes. Check your shoulders every few minutes. They’ll want to creep up toward your ears — actively relax them. Don’t worry about poles yet, just get the posture solid.
Add poles: Same easy route, now with poles. Spend time on the cross-pattern (right pole with left foot). It’ll feel clumsy. That’s normal. Aim for 20 minutes. Don’t push hard — keep it easy so you can focus on form.
Rhythm clicks: By now the pattern should feel less weird. Try 25-30 minutes at a comfortable pace. Push backward with the poles more actively. You’ll feel the difference in your upper body — that’s good. It means you’re engaging the right muscles.
Build confidence: Technique should feel mostly automatic now. Try different terrain — gentle hills, varied paths. Longer walks (40-60 minutes). By week 3, you’ll notice you’re not thinking about form anymore. It’s becoming natural.
Technique doesn’t need to be complicated. It’s really just four things: stand tall, get the right poles, grip them loosely, and move naturally. That’s it. Everything else flows from there. Most beginners overthink it, expecting some secret formula. There isn’t one. Just consistent practice with attention to the basics.
The good news? Your body adapts fast. Within 2-3 sessions, the awkwardness fades. Within 6-8 sessions, it feels normal. Within a month, you’ll wonder how you ever walked without poles. And you’ll notice something else: your legs feel stronger, your posture improves even off the trail, and walks become genuinely enjoyable instead of a chore.
Start on flat terrain. Keep sessions short and frequent (3 times a week beats one long session). Don’t compare yourself to experienced walkers — they’ve been doing this for years. Focus on how your body feels, not how you look. Once these fundamentals are solid, you’re ready to explore the Czech trails: Beskydy routes, Jeseníky paths, whatever appeals to you.
Questions about your specific situation? Reach out. That’s what we’re here for.